Webupdates
Webupdates can be accessed via the following URLs:
Webupdates is a graphical front-end for the RESTful API. It allows objects to be created, modified and deleted from either the RIPE or TEST Database and their RC equivalents. Object templates are available to guide users through object creation and modification. These can be selected as individual fields or a single text area. In field mode, a template for creating a new object will only show the mandatory attributes. Additional and optional attributes can be added to the template as required. In text area mode, the initial template will show all possible attributes for an object type. The mandatory attributes are in upper case and the optional ones are in lower case. It is not possible to switch between the field mode and text area.
When the submit key is clicked, the data is sent via the RESTful API to the database software. This restricts input to single object processing only. If you paste more than one object into a text area, an error will occur.
When deleting objects, the full object is presented to you for verification and you must then enter the reason for the deletion.
When an object is queried using the Webquery form, ‘hover over' buttons are available to take any object from the query results directly into Webupdates to update or delete the object.
Objects up to a maximum size of 10MB can be managed through the Webupdates interface. If any errors occur during the update, the error messages are shown either:
- In a single error block at the start of the form- if they are general errors
- Within the form- if the error is specific to a particular attribute and you are using the field mode
- In a series of error blocks at the start of the form- for errors specific to particular attributes but you are using the text area mode
There is no maximum amount of time for an update operation to be completed. You should set your timeout to the highest possible value. Problems sometimes occur with reverse domain objects. Because of all the DNS checks made, reverse domain objects sometimes take longer to process, and your connection may occasionally time out. The update will still be completed by the database server, but no acknowledgement will be returned if the connection has timed out. Notification messages are always sent by email, and will be sent regardless of your connection status.
Creating Basic RIPE Database Objects
You need to create a number of objects in the RIPE Database in order to fill in the RIPE Database Template.
Please follow the steps below in order to create them.
RIPE NCC Access Account You need to have a RIPE NCC Access account in order to be able to use the web interface of the RIPE Database.
You can create your RIPE NCC Access account using https://access.ripe.net/registration
Role Object and Maintainer Object Each role objects describe a business function. Each object has a unique NIC handle as primary key.
Maintainer objects protect object in the RIPE Database. They contain the information needed to authorise creation, deletion or modification of the objects they protect.
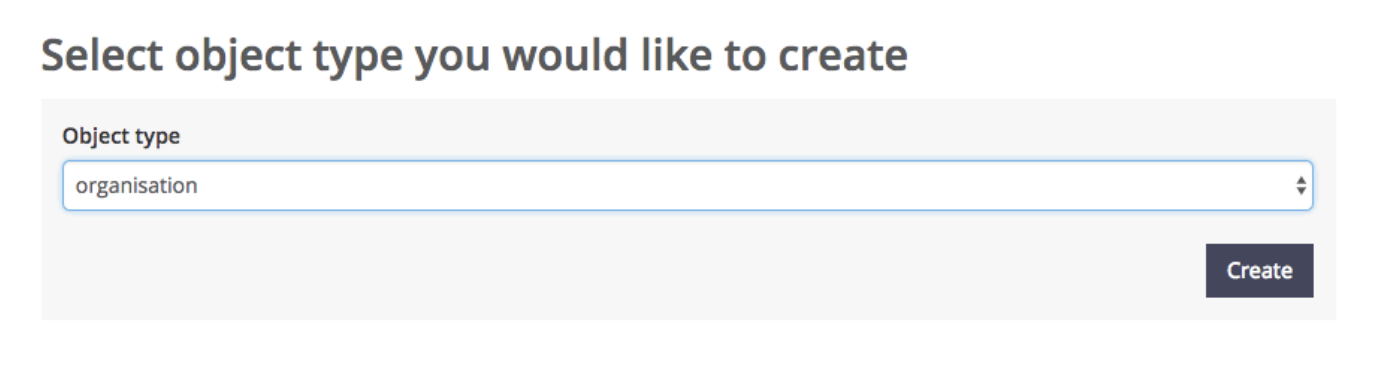
You can create your first role and maintainer objects using the object creation tool.
Choose a name for your maintainer object and enter it in the "mntner" field which will be the primary key.
When you receive the message "Your objects have been successfully created", make a note of your role object's primary key and mntner object's primary key.
You can use your role object's primary key (NIC handle) in the "admin-c:", "tech-c:" and "zone-c:" fields of the RIPE Database Template.
You can use your mntner object's primary key in the "mnt-by:" field of the RIPE Database Template.
You can create additional person, role and mntner objects and also change the objects you already created using RIPE Database Webupdates.
Organisation Object Organisation objects contain information about organisations. Each object has a unique organisation ID ("organisation").
You can create organisation object using RIPE Database Webupdates
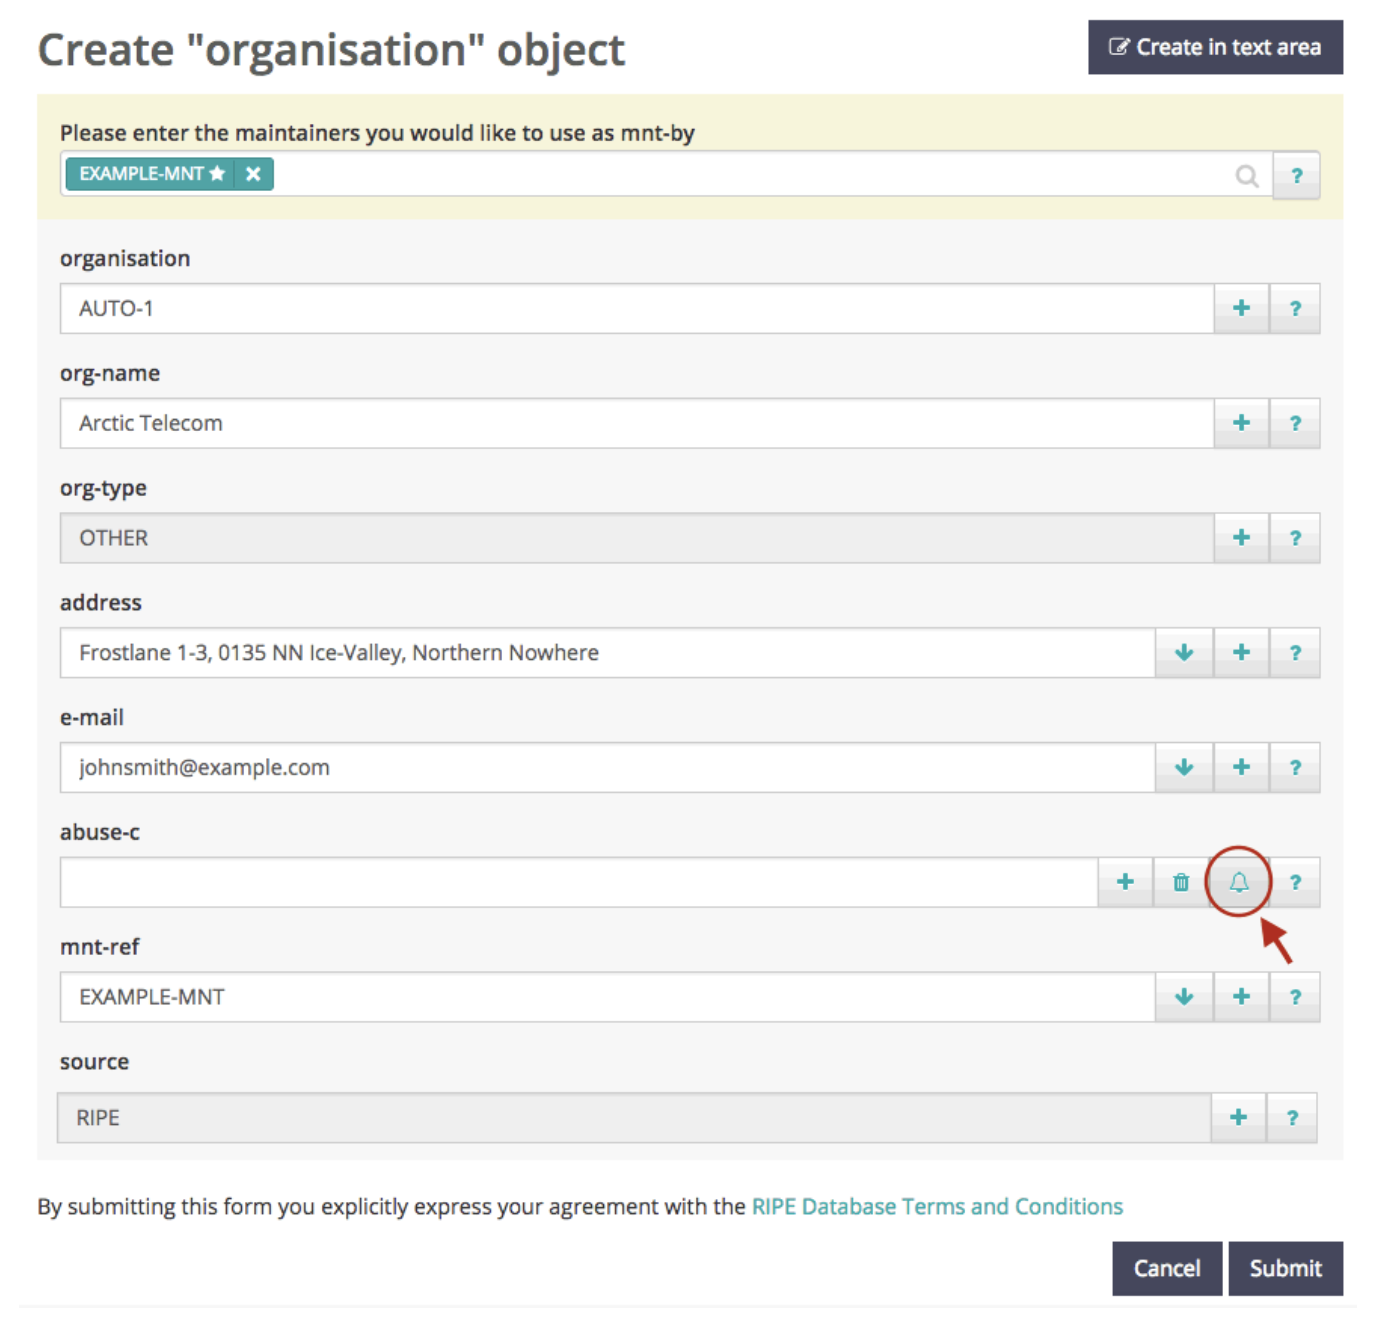
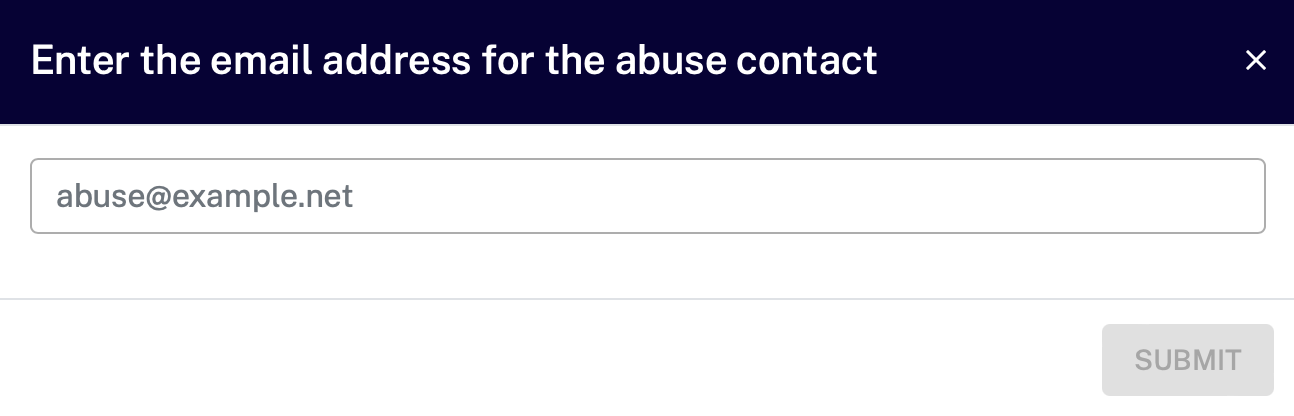
Keep "AUTO-1" in the "organisation" field. The organisation ID will be created automatically. Enter the primary key of your mntner object in the "mnt-ref" field. Use the "bell" icon to fill in the "abuse-c" field.
When you receive this message: "Your object has been successfully created". For example, "organisation ORG-XYZ-RIPE", make a note of the new organisation ID (ORG-XYZ-RIPE).
You can use the organisation ID in the "org:" field.
Please note that organisation objects with IANA, RIR, NIR or LIR can only be created by the RIPE NCC. Any other entity must use OTHER in the "org-type:" when creation organisation objects.